
Creating a System Image in Windows 10
Creating a system image and periodically updating it can alleviate a lot of the unpleasantness when disaster strikes in the form of a hard drive crash, virus or other data destroying disaster. Particularly when you consider the applications you've installed and the updates to Windows itself, rolling back to a factory reset leaves you with hours of reconfiguration and updating and days of tweaking. All of which can be eliminated by having a fairly recent system image kept safe on an external storage device. This System Image Creation Guide has step by step instructions for Windows 10 users to follow to complete the process. Download this Guide as a PDF: System Image Creation Guide PDF
System Image Creation Guide
for Windows 10
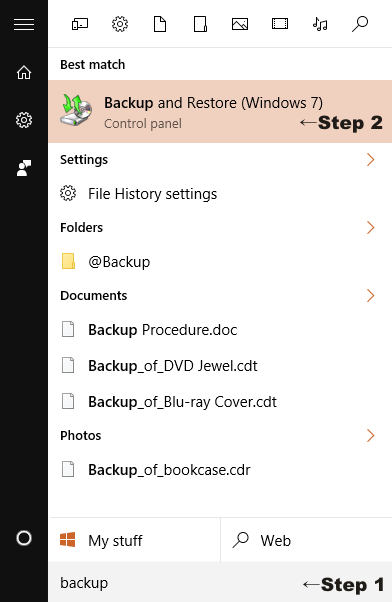
Illustration 1: Start Menu
Prerequisites: Before beginning you will need to attach an external storage device like a USB drive with free space equal to the amount of space in use on your system drive (C:). If an existing backup will be overwritten you may proceed with less in many cases. You may also backup to DVD or network attached storage but these methods will be more time-consuming.
Follow these steps in Windows 10 to create a system image backup.
-
Click the Start Menu and type in backup (should be enough) and restore. (Illustration 1)
-
Click Backup and Restore (Windows 7). (Illustration 1)
-
Click Create a system image in the list on the left. (Illustration 2)
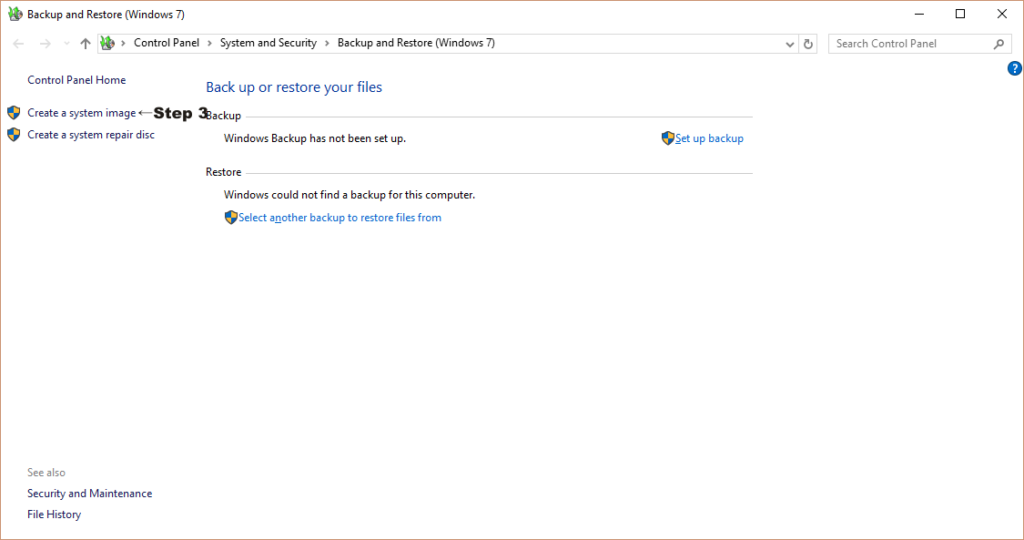
Illustration 2: Backup and Restore (Windows 7)
-
(Optional)The Create a system image settings window appears and a scan for backup devices might take place. (Illustration 3)
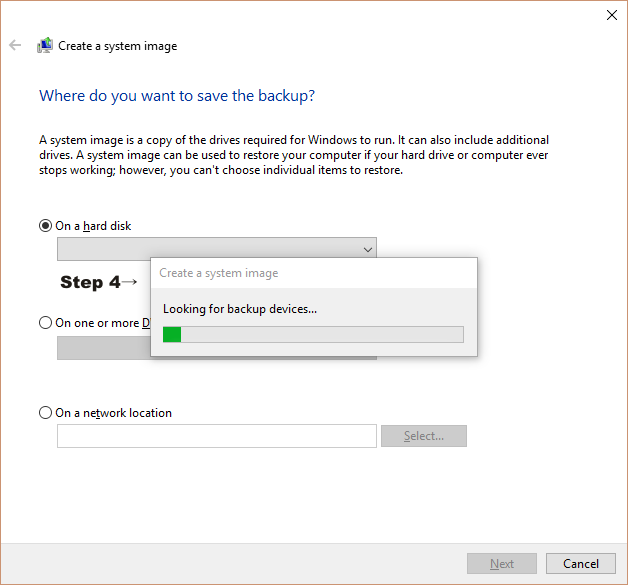
Illustration 3: Create a system image (scanning)
-
The On a hard disk option should be selected and your connected USB external drive should be listed (it may have a different drive letter than the one shown). (Illustration 4)
-
Click Next. (Illustration 4)
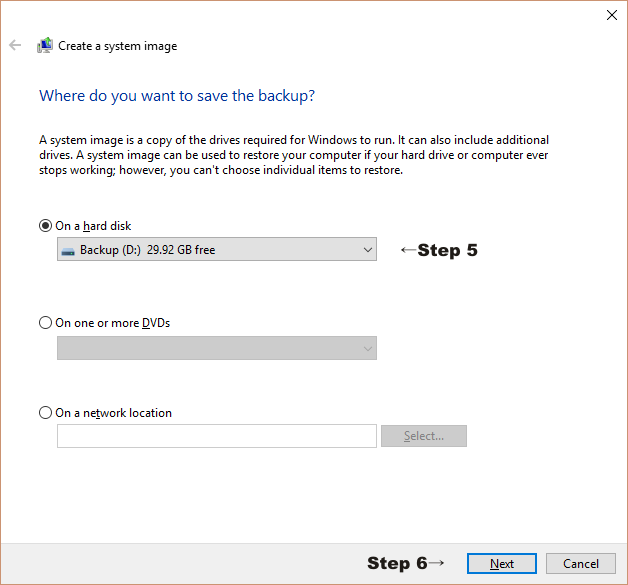
Illustration 4: Create a system image (location)
-
-
The Create a system image confirmation window appears. Check the information is correct and then click Start backup. (Illustration 5)
-
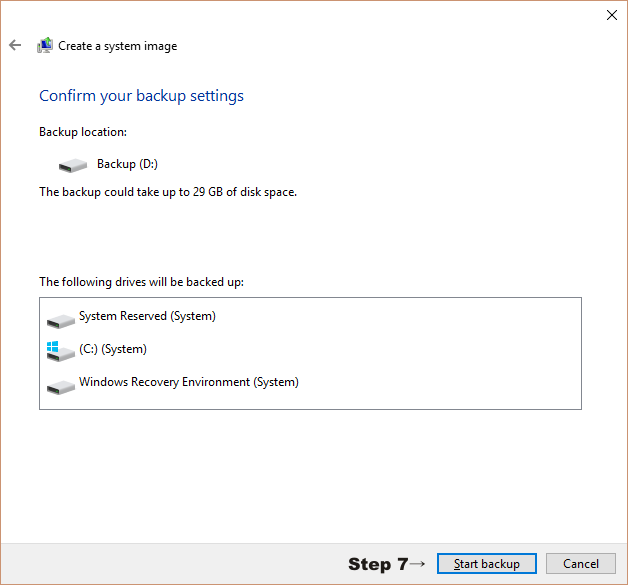
Illustration 5: Create a system image (confirmation)
-
The Create a system image backup status window appears and shows the progress of the backup. (Illustration 6)
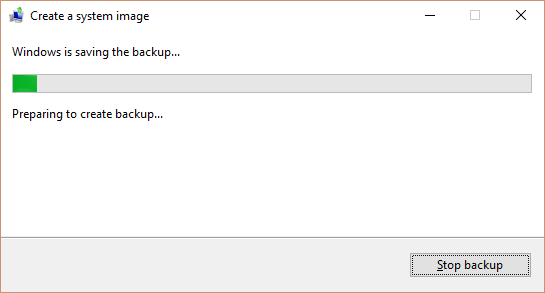
Illustration 6: Create a system image (status)

Illustration 7: Create a system image (completed)
-
The backup is complete. If you don't have a system repair disk, it's recommended to create one at this time. To finish without creating a system repair disk, click No then Close. (Illustration 7)
Safely disconnect your external storage device. Store your backup in a safe place until you update it or need to use it.
Download this Guide as a PDF:System Image Creation Guide PDF
©2016
