How To Setup an Asus X99 Deluxe II for NIC Teaming Under Windows 10 v1809 or Windows 10 v1903+
How to Use Intel® PROSet for Windows PowerShell Software to link aggregate the onboard Intel® I218V and I211 network adapters after updating to Windows 10 v1903 and higher
This procedure will also work with most other Intel® network adapter hardware configurations and under Windows 10 v1803. Upgraded to Windows 10 v1903? You must use the PROSet v24.1+ driver package!
Preparations:
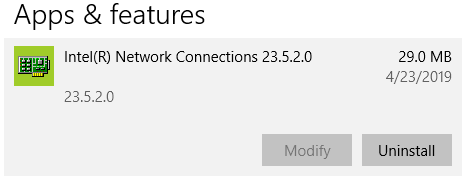
After updating to Windows 10 v1809 or Windows 10 v1903, you must first take some preparatory steps to ensure the NIC team can be created as expected. First, visit the Intel download page for the PROSet Windows 10 network adapter driver (v23.5.x or greater for windows 1809, v24.1 or greater for Windows 10 v1903) here and download but don't install the driver just yet. Before updating to the new driver, first remove the old (current) driver and advanced networking services protocol. To remove the old (current) driver, click the start menu then type remove; at the top of the menu click on Add or Remove Programs to open the Apps & Features section of Settings. Locate Intel Network Connections and uninstall it (Image 1). Once the driver is removed, also remove the advanced networking services protocol. Open Network Connections (press the windows key + R key to open the Run dialog and then type in ncpa.cpl and click OK or press enter), right click on one of the adapters and select properties (image 2).
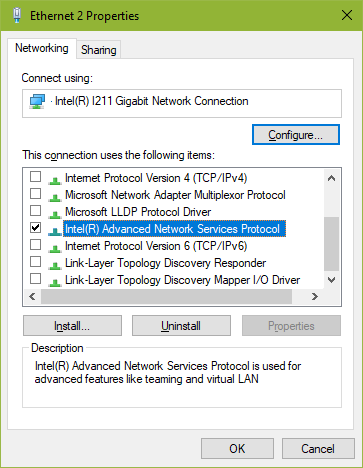
In the section of the Adapters Properties labeled "This connection uses the following items", locate and select Intel® Advanced Network Services Protocol and click uninstall (image 3).
Close all the open windows. The old components are now removed and it's time to install the new network adapter driver that you downloaded previously. Run the Intel PROSET installer (PROWinx64.exe) and follow the instruction of the install wizard. Once the driver has been installed, you should regain internet access via the individual adapters. Verify the adapters are working before proceeding to using Windows PowerShell to create the NIC team.
Using Windows PowerShell To Create a NIC Team
For the time being, Windows PowerShell enhanced with Intel® PROSet for Windows PowerShell* Software (IntelNetCmdlets) must be used to create and manage your NIC Team. It is expected that this method will be superseded by another method currently under development at Intel that should be more user friendly.
To begin, open Windows PowerShell with administrator privileges. Click the start menu and type powershell. Right click the Windows PowerShell at the top of the menu and then left click Run as administrator to open Windows PowerShell with the privileges to create the team. Before creating the team, the Intel® PROSet for Windows PowerShell* Software (IntelNetCmdlets) module must be installed. At the PowerShell command prompt, enter (see image 4):
Import-Module -Name "C:\Program Files\Intel\Wired Networking\IntelNetCmdlets\IntelNetCmdlets"

The first step is to determine the correct names for the adapters. This is done with the Get-IntelNetAdapter command (see image 5). You can copy the names by highlighting them and pressing the enter key. Paste the name in the commands using the standard paste, Ctrl + v.
Get-IntelNetAdapter

Once we have the adapter names we can create the NIC team in one command, using the New-IntelNetTeam command with the necessary parameters specified (see image 6):
New-IntelNetTeam -TeamMemberNames "Intel(R) Ethernet Connection (2) I218-V","Intel(R) I211 Gigabit Network Connection" -TeamMode IEEE802_3adDynamicLinkAggregation -TeamName "Team0"
where -TeamName is a name you give to the team, -TeamMemberNames are the adapter names determined with the Get-IntelNetAdapter command previously (see image 5), and -TeamMode is one of AdapterFaultTolerance, AdaptiveLoadBalancing, StaticLinkAggregation, IEEE802_3adDynamicLinkAggregation, SwitchFaultTolerance or VirtualMachineLoadBalancing (if you're unsure, go with StaticLinkAggregation).

The NIC Team has now been created successfully but we have not yet set the primary and secondary adapters. This can be done using the Set-IntelNetTeam command (see image 7):
Set-IntelNetTeam -TeamName "Team0" -PrimaryAdapterName "Intel(R) Ethernet Connection (2) I218-V" -SecondaryAdapterName "Intel(R) I211 Gigabit Network Connection"
where -TeamName is the name you gave your NIC Team and the adapter names were determined previously (see image 5).

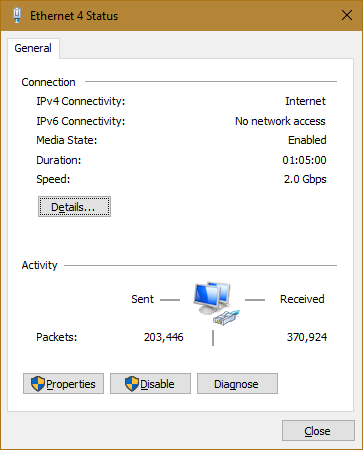
The NIC Team has now been created successfully and should be functional (see image 8).
While these instructions are specific for the Asus X99 Deluxe II under Windows 10 v1809, this procedure will also work for most other Intel® network adapter hardware configurations and under Windows 10 v1803 or, with PROSet driver package 24.1 or greater, under Windows v1903.